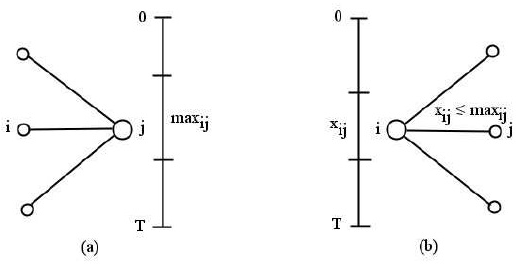
Figure 3:
An ACG (a), and two maximum traffic flow configurations (b-c).